| |
![]()
 Water Wheel
Water wheel construction: One soon will get tired of hand cranking and will want to find a better way. In the near continuous raining condition as is
predicted after a pole shift, water flow in uneven land conditions creates some interesting opportunities. Even small areas collecting water will create a
significant amount of run off water flow. All one need do is position a portable constructed paddle wheel where there is as small as 1 to 1.5 foot water
flow drop at a rate of at least about 20 gallons/min and use two cordless drills wired in series as generators.
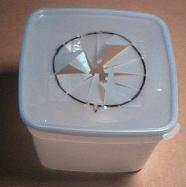
12 small plastic containers and several 5 gallon bucket lids can be used to create a water wheel.

Stack one plastic container on top and nested in the lower one. Drill in a hole in the middle of one of the longer sides. Use a #8-32 by .5" long machine
screw and nut to fasten them together. The containers are positioned so the overlap is just barely enough to bolt them together.
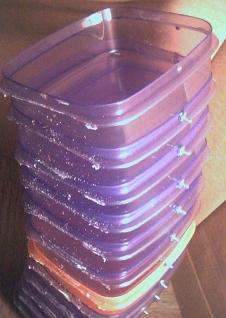
Use one container of a different color to aid counting revolutions in a given stop watch timed run to determine RPM. One can measure the time it takes
for say 20 revolutions to determine RPM. I used 12 containers (Good Buy Mini Container distributed by PTS long Beach Ca) and two 5 gallon bucket
lids. These were purchased at a $.99 store for 3/$.99. Once all 12 are bolted together on the back side then unbolt the bottom container and place it
on top, drilling and bolting it in. Now take a disk sander and sand off the lips on the sides that will be bolted to the bucket lid. This makes it so one has
a flat edge to bolt to the lid. Next open the stack of containers into a circle and put the last bolt in to hold it circular.
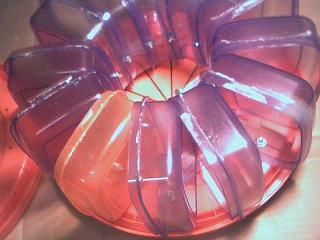
Mark and drill holes in one lid then use this lid as a guide to drill the holes in the other lid. Add a ring of "silicon-I" sealer and centered the now circular
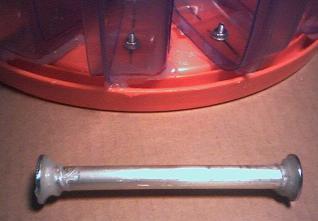
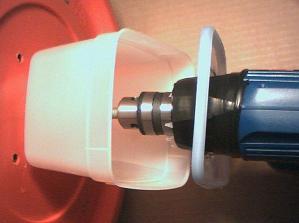
ring of plastic containers and drill-bolt the buckets to the lid. Cut a 4.75" long .5" diameter aluminum or copper tubing put 3/8" washers at each end and
glue with silicone sealer. I used a threaded rod and a couple of nuts to hold it until the silicone sealer set up.
Use this pipe as a spacer between the lids in the center when assembling the last side. One water wheel weight is about 3 lbs two is about 5 lbs.
Caution: the 3/8"shaft will bend if nuts are tighten against a pipe that has a non-square end. Use a pipe cutter and get a square end. Don't use a
hacksaw. I learned this the hard way. The threaded shaft sticks out about 4.5" on each side. Use in this order a garden hose rubber washer, finder
washer, normal washer, lock washer and two nuts locked together to hold the shaft from slipping on the 5 gallon plastic lid.
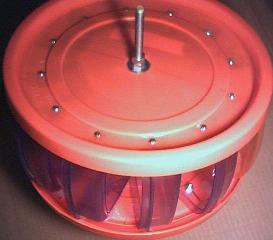
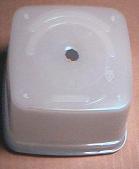
To keep the water form over time getting to and rusting the drill chuck (spray with oil at assembly time) of the drill take a small square shaped plastic
container and drill a hole in the bottom and pie shape cut the lid. Bend some (3 in my case) of the pies up and all the rest down. Drill a small drain hole
at the lowest corner so that if any water leaks in, it will drain out. The pie tabs will be taped to the drill to hold it in place.
Offered by Mike.
