| |
![]()
 hV Connection
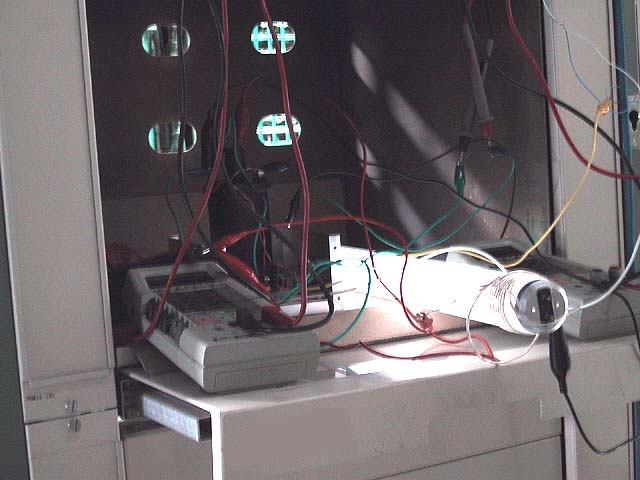
Tape both end of the fluorescent tube with the double sided tape, and wind approximately six turns with the speaker wire at each end, the first end of the winding, connect the copper color together and the tin color togethe. Make sure the copper color doesn't have any short with the tin color, and connect the copper color to the hVa and the tin to the hVb. The hVa is the + mark on the coil and hVb is the center big hole of the coil. The negative (-) of the coil is connected to the "D" of the mosfet. At the other end of the tube, connect this winding to the chassis ground. When the unit is turned on, the tube will glow, even the burnt-out tube will glow too. Hence do not throw away your burnt-out tube in the future, you might need it just to find your way in your dark basement. In this picture, there are two fluorescent tubes, the background tube is a brand new tube and whereas at the foreground is a completely burnt out tube, look at the black color at both end of the tube. These two tubes were connected in parallel.
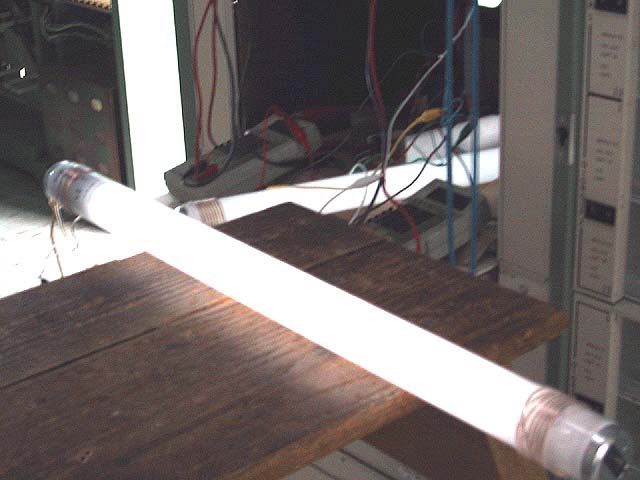
If you need to make it brighter, connect the hVa direct to the pin of the tube and the hVb on the other side pin of the tube. The brightness will double. And if you like even more brightness, the power resistor ought to be bridged. If you do this kind of arrangement, one will start smelling ozone. Is ozone good for you? The ozone, I am sure, will clear up the stale air of your basement. When this power resistor is bridged the unit will draw about 1 Amp, and the mosfet will become very hot. Make sure a large heat sink is attached to this mosfet.
Offered by Tian.